
The Ultimate List of Tips for Organizing Games and Centers in the Classroom
Take a moment to visualize the most amazing, flawless “game center time” happening in your classroom. How have you organized the materials you and your students will need to access? What are students doing? What spaces in the room are they using? Are students sitting on the floor, at their desks, or side by side with a partner and a clipboard? What is the volume level in the room and how have you taught students to meet that expectation? Are all students participating in game-based centers at once or do you have small groups of students working on different things? When game center time is over, what do you happily stand back and watch your students do? How do you ensure the center area is cleaned up and left better than before game time started? No detail is too small to consider in your visualization! Today, I’ve got the ultimate list of tips for organizing your game centers so that you can fill in even more of the details to set up your functional, flawless systems for your game-based centers in your classroom! While these are useful tips for any subject area, I’ll primarily focus on word study and spelling games.
First Things First,
Every center, rotation, or activity that your students complete DOES NOT NEED TO BE overly hands-on and materials heavy. Specifically in this post, I AM sharing tips for using LEARNING CENTERS or STATIONS that are printed out, may have multiple components, use a few specific items to play, and require an organizational system so that your students get lots of benefits out of them (and you don’t lose your mind in the process!).
In my word study rotations, my students will do: 1) discovery word searches, 2) meet with me in their small group, 3) complete word study notebooks, and 4) do center game/activity. Notice that only one activity is hands-on and requiring students to access center materials and the other activities are low prep (typically prepped one time at the beginning of the year).
With that said, no matter the subject you are hoping to implement games or hands-on center activities for, I recommend having only 1 center or rotation for that subject area that requires extra materials and top-notch organization. (Of course, as the year goes on, you can add more where you feel it will be successful if you want.)
Let’s get to the ULTIMATE list of tips for organizing word study/spelling games and centers in the classroom. And, if you have a tip to add to this ULTIMATE list, be sure to drop it in the comments as I will be continually updating this post with new tips! 👇
SET THE SPACE:

1) You’ll need a physical space for containing your games and centers. Whether you use an entire bookshelf, those Sterilite 3 Drawer Paper Organizers, or a bunch of dishpan bins on top of your air conditioning system from the 1960’s (yep, my first classroom had that!), you’ll want a space that is clearly designated for the materials students will need to complete their stations or center rotations. Some of these options are definitely better than others, but I want you to know you can get started with centers even if you have limited space in your classroom.
2) Keep your center materials for different subject areas separate even if some of the materials overlap. For example, if your students sometimes need dice for a math center but will also need dice for a spelling center, create separate sets of dice for them to access since you should have two separate areas for math stations and spelling centers. Believe me, this WILL save your sanity in so many ways!
3) Designate areas where students can play the games and complete their centers. Do you have carpet squares? Where are they allowed to take them to? Should students move back to their desk and have a partner pull up a chair? Is there enough space at the materials area to add a desk or small table that allows students to stay in the area to complete those activities? Do you want students at this center to be close to your small group table or have space to themselves where you can still keep an eye on them?
THE GAMES AND CENTERS THEMSELVES
4) Print everything on cardstock. It will last longer.
…speaking of lasting longer…
5) Do NOT Laminate Your Games, Game Boards, or Game Cards. If you just can’t NOT protect the games you’ve printed, consider using sheet protectors. This will provide you with a much quicker way of protecting the games as you won’t have to spend hours in front of the laminator then hours trimming the lamination. You can slip game boards in and out of the sheet protectors as needed or store your games in sheet protectors long term. If you choose this method, you can also place your sheet-protected games in a large binder for storage!
👉 Are you a LAMINATOR LOVER and NOT CONVINCED ON lamination? Think about it this way… Laminating your game boards, activities, task cards, or game cards DOES NOT PREVENT them from getting lost. So, if you DREAD having to print a piece of a game or activity again, it still could happen even if you’ve laminated all.the.things.
HOW STUDENTS ACCESS MATERIALS
Because all of your materials are organized in one area of the classroom, this should be a breeze, right?!
6) Color-Code everything! Designate a color for each small group. (While I’ve used Red, Yellow, Green, and Blue because of the designated colors in the Words Their Way levels, I’d personally LOVE to RAINBOW up this area of my classroom with pink, purple, teal, and a pretty green or orange. Be creative in the colors you choose but be mindful of the need to find organization and storage materials in matching colors (like bins, file boxes, and folders).

7) Deciding on an organization system that allows students to access their games and assignments easily will save you lots of time and headaches.
Use color-coded pocket folders, slip covers, or gallon-sized bags to organize the games for each student group. You’ll need to prepare enough game folders for each student in the group or enough for students to share.
Place each set of games/centers in a file box or bin clearly labeled for each group.
Game Pieces and Manipulatives
8) Consider creating personal manipulative bags for each student. This is truly my #1 sanity-saving recommendation! Personal materials sets contain all things a students would need to get started with their game or activity. These manipulative sets put students in charge of taking care of their own materials, allow students to get to work more quickly, and keep things more organized because students don’t have to grab a bunch of different tools or be expected to return each item to a designated container.

You can find cheap pencil pouches or simply use quart sized Ziplock bags (This is my preference so that you students can see all of their materials).
Considering the word study/spelling games my students play, an individual student manipulative set should include:
two paperclips for spinner games OR transparent spinners
Letter tiles specific to the level of spelling patterns students are studying
BONUS: a sharpened pencil with eraser
BONUS: dry erase marker and eraser if you’d like to make practicing spelling before writing on the recording sheet a part of your students’ routine
You can write each students name on a set of materials, then I’ve created free labels that you can print and stick onto the bags to show what should be included in them at all times.
If you are serious about individual sets of center supplies for your students, you’ll want to check out Jillian Starr’s ideas for Organizing Individual Classroom supplies. She’s got ideas for individual white board supplies and math manipulatives to name a few!
9) If you do not choose to create personal material bags, consider these tips. Only place the manipulatives and materials students will use again and again in your center area. If you have lots of games where students need a pawn or chips to cover their answers, keep those in the center. If your students will very rarely need dice, leave those stored away until they are actually needed. You know it: THE LESS TO CLEAN AND ORGANIZE, THE BETTER!
10) Label everything. If you decide to store manipulatives in your center area or plan to have students access them as they need them, label everything once you’ve gathered the materials that students will need often. Use picture clues or clip art to make organizing this area even more obvious for students.

11) Counters/Chips: In lieu of individual manipulative sets for each student, create snack sized bags of counters/chips with 25-30 chips in each. If wanted, label with student names for groups who will need them to encourage students to keep up with their own chips.
Letter Tiles
12) In all of my games and activities, I’ve included letter tiles for students to practice spelling and manipulating words. Rather than cutting letter tiles completely apart, consider keeping strips of them intact so that students can use them as a reference “list” and manipulate them more easily. This might be the ONE THING I recommend you laminate for durability 😂. You can create a few sets of leveled letter tile kits for your different spelling groups (or enlist those volunteers to help make them!).

PreparE STUDENTS FOR GAME PLAY
13) Your students will always be more successful in centers (IE-engaged, motivated, and knowing what to do) if they have been introduced to a game or activity prior to their center session. Even if you teach older students AND the games and activities you are using contain student-friendly directions, your students will be more successful if you read through those directions with them and make sure they are clear on what to do. Here are a few tips for making that happen:
Introduce the game during your small group meeting. Rather than simply going over the directions for the game and any accompanying recording sheet, play the game together for 5 minutes. This will allow you to ensure students play correctly, including following any directions to read words or clues aloud.
Consider the order of your assignments: Because you’ll want to introduce students to the game in a small group setting with you, students’ schedules should be set up so that their assigned game center time comes after their small group meeting with you. I do not mean that center/game time has to be directly after your small group meeting but that the games/center component of their rotations will need to come after your small group meeting. (For word study, my students only complete one rotation a day, but my students typically experience two math rotations per math block).
If you are interested in reading about my math station rotations head to this post. If you are interested in learning more about my staggered word study schedule, I’ve got you covered here!
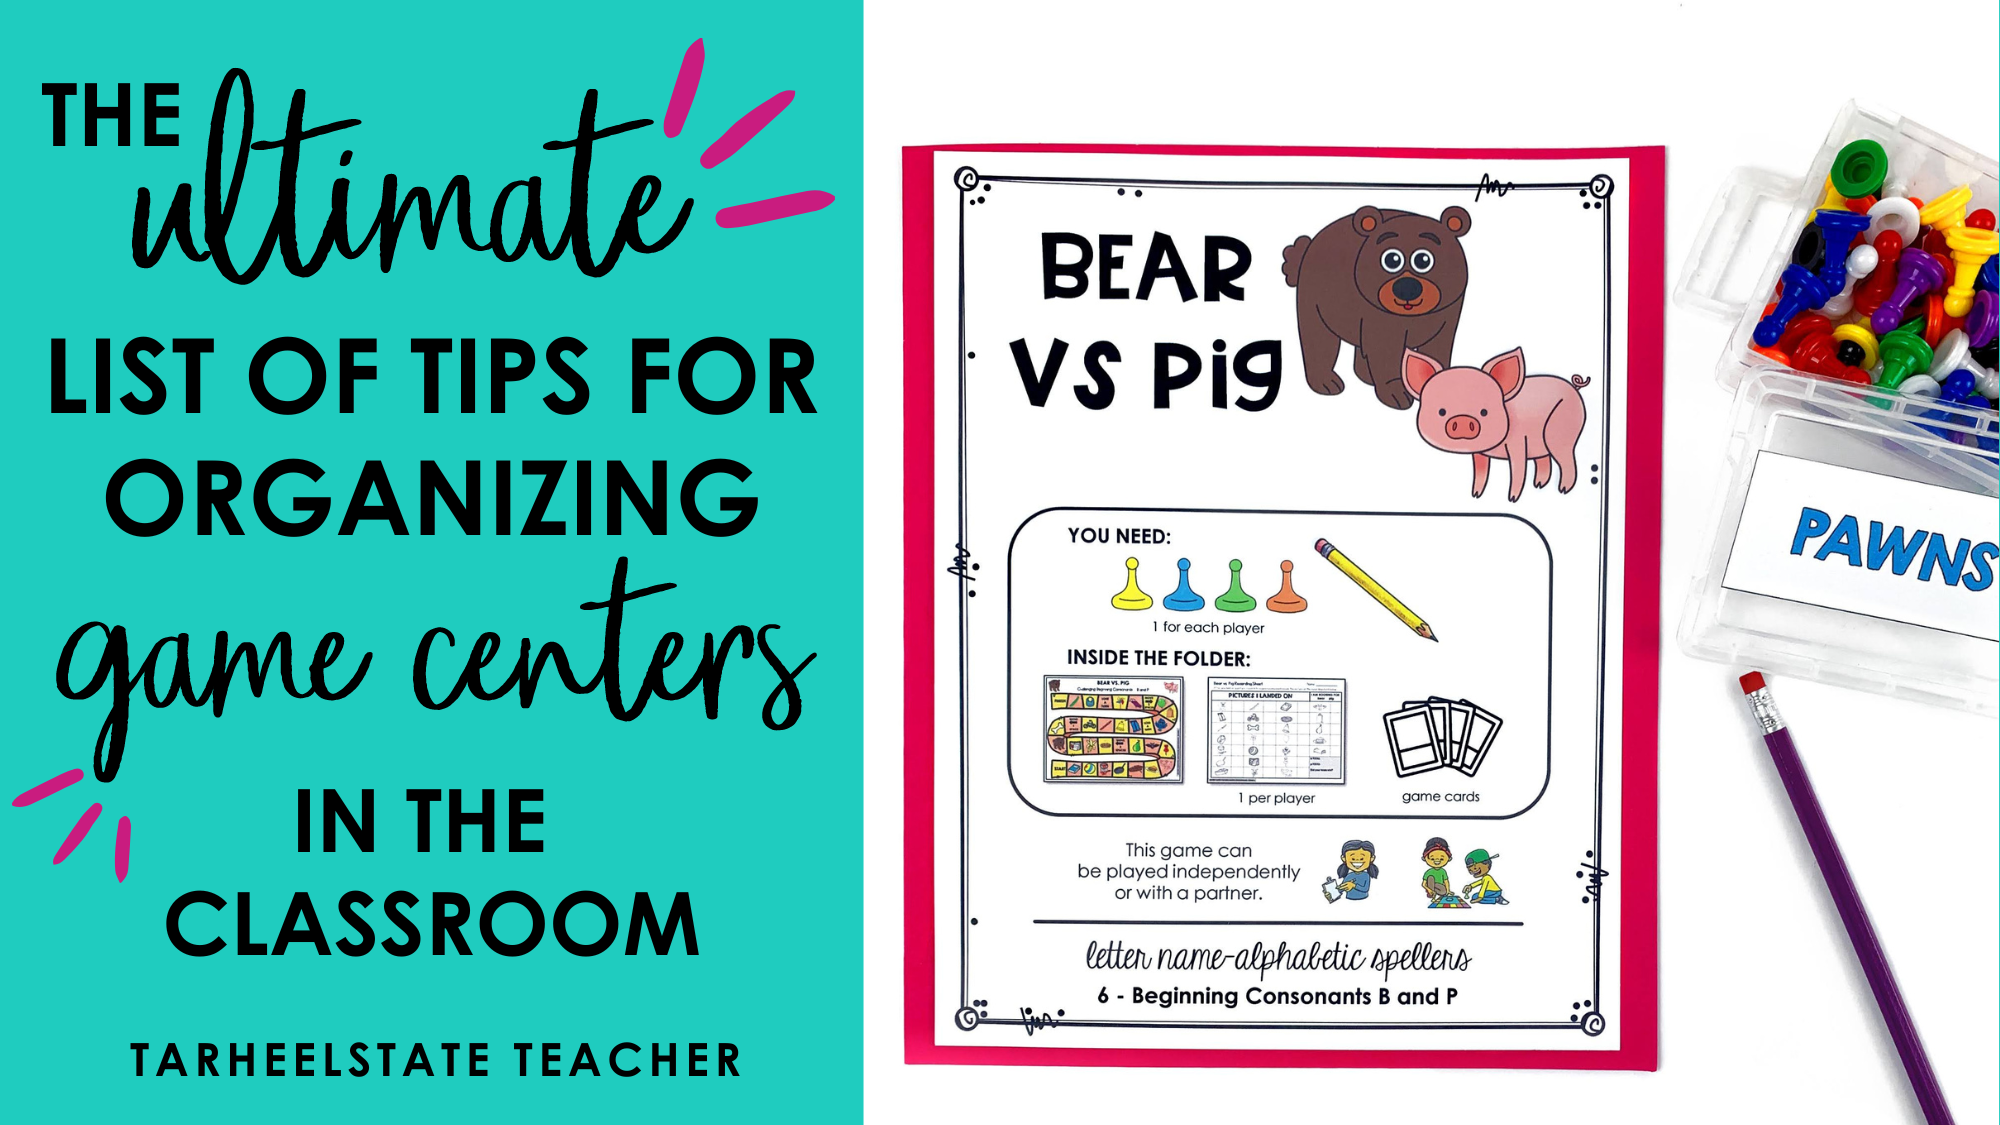
14) Use only a handful of game formats so that future center/game time will run more smoothly. For example, in my word study and spelling centers, I’ve used card games, spinner games with picture boards, follow-the-path gameboards, Connect 6, and “Guess My Word” (like Guess Who?) games to teach a multitude of concepts. While I’ve used a few other game-types here and there, these games are my staples, minimizing the different types of games I’ll have to teach my students.
15) Not only should the game format be familiar to students, but the CONTENT of the game/center should be familiar. For example, if you are implementing spelling centers, students will get more out of their game time if they have already been exposed to their word list and the concept/word pattern they are studying. Again, if you introduce the game during your small group meeting, you’ve got this tip covered!
💥 Add in even more support for students by having a volunteer or teaching assistant available during center time. They can ensure that students get going and understand what to do right away. (Seriously, I hope this is a possibility for you!)
MANAGEMENT of CENTER TIME
The more explicit you are with students BEFORE you start implementing, the more successful the implementation will be and the less time you'll have to spend going back and clarifying how you want it to all work.
16) Expectations: After setting and reviewing expected behavior for getting materials quickly, working quietly, and how to clean up, post your expectations at the word study center. This keeps your expectations front and center for students. Anytime you need to review expectations, you can refer to your posted list. I've included a sample expectation poster for you in the free download.

17) Post your center schedule in the room. Here are a few ideas for doing so:

Create a schedule showing each group’s assignment per day. I use a rotational schedule for word study meaning that each small group has a different assignment on different days, but for the most part, their activities all follow the same sequence. I was able to get this going with a staggered start schedule. It sounds complicated, but it’s really not. You can learn more about my word study rotations here.
Create a laminated chart that contains space on the top to allow you to write days/dates with students’ names listed under each day showing when they will visit the center. Rather than switching out student names, you’ll just change the days students will visit the centers when needed. So, group 1 may visit the center on Monday, group 2 on Tuesday, Group 3 on Wednesday, Group 4 on Thursday, Group 5 on Friday, and Group 6 on the following Monday.
18) Post a poster of picture clues reminding students to make sure they have grabbed everything they need before they go off to get started. Your reminders might include:
Do you have a pencil with eraser? ✏️
Do you have all materials listed on the front of your game folder? 📎📂
Do you have letter tiles or a whiteboard? (Which do you want your students to have?)
19) Time those center blocks! Set a timer (I always use this free online digital timer that I can display on the board). Another option is to set a timer for yourself (am I the only one that ALWAYS loses track of time during centers?!) and then ring a chime when time’s up.
TURNING IN THE WORK
20) Decide where students will put completed recording sheets from games in order for you to review or check. Do you want these organized by student? Maybe hanging files with each student's name? Or organized by small group to be pulled during the next small group meeting to review together if needed? (My vote!)
UPKEEP OF CENTERS, GAMES, AND STATIONS
The types of centers and games I’m talking about will typically need to be switched out on a weekly or bi-weekly basis. As such, I recommend choosing one day each week that you will plan to check into the center area and update any games that need to be updated.
21) Set a reminder on your phone for every week at your chosen time or create a recurring appointment in your Google Calendar (phone calendar app preferred!) with a 15 minute alert set up. With this strategy, you’ll build checking into your centers as part of your routine in no time!
22) Hire an ORGANIZATION SPECIALIST! No, really! While you should teach all students to maintain your center areas and materials, I recommend having a student or two who are "Organization Specialists" for this area of the classroom. This student can check into the center each morning to make sure all supplies are tidy. They can also monitor the clean up of the station after each center block. Then, they can alert you to anything that needs to be replenished.
prEP the centers
23) Organize games in pocket folders or gallon-sized ziploc bags. The folders should contain:
Cover or Label for the front of the folder/bag
Game or activity cards, boards, etc. that are needed for the specific game
Multiple Copies of Student Recording Sheets (plus one master copy)
Answer Key for this specific game (This works really well in my classroom but you may prefer to create a binder of answer keys with one tab for each unit and all of the answer keys in that section).
24) Prep your games and centers for each group for one subject area for an entire quarter. It may sound daunting, but it will make your workload throughout the quarter so much lighter. Over time, you’ll have already printed and organized a lot of the centers you need so your work will become less and less as time goes on. I promise, if you PLAN TO PREP CENTERS (print, cut, organize) each week, you are planning to drop the ball. (That’s tough love, but in my experience, it is so true.
Notice, I didn’t say prep your centers over the summer, but if that’s your jam…by all means, prep, print, organize ‘til your big heart is content!
25) All of my spelling/word study games have an accompanying recording sheet (much like answer sheets for task cards, so this tip works great for that too!). I recommend printing more copies than one group of players will need for the game. (For example, groups are typically 5-7 students, so perhaps you print 20 copies to have in the folders). Then, print one copy of all recording sheets on a pastel sheet of paper (purple strikes my fancy right now, but light yellow or green would work well too). Keep the colored copy of the recording sheets at the back of all the recording sheet copies that are placed in your game folders. When students get to the colored sheet, they can let you know that you are running low on copies for that game.
ABOUT THOSE CENTERS THAT ARE NOT IN USE
26) Have an additional spot to store games that students/groups are not currently using. There’s no need to have students sorting through a crate of 30 games to find the one they are on.
ENLISTING VOLUNTEERS
27) I am not going to sugar-coat the preparation aspect of implementing games and centers. If you are using centers and games that are differentiated for multiple student groups, you will have a lot to prep and organize up front. Your gaming experience will be so much better if you can enlist volunteers to help with some of the organizational work. Grab your friends, capable students, parent volunteers, your own parents 😂, your spouse, your pet, whomever has willing hands or paws! How can volunteers help?
Cut apart game cards
Fill folders with games, game cards, and student recording sheets
Replenish folders after students have used them (perfect perhaps at the end of every quarter so that you can replace folders in your storage files ready for the next group!)
Yikes! This is a long list of tips for organizing your game-based centers (and saving your sanity, I hope)! My goal is always to make word study, word work, and spelling more fun for students and teachers. I do believe your time invested in implementing game-based centers will pay off! If you have any questions, be sure to drop them in the comments!

And don’t forget to grab your free tips, labels, and a 3 different levels of games and activity centers to try!